Ford Mustang Umnitza Orion LED Angel Eyes 2010-2014
Title:
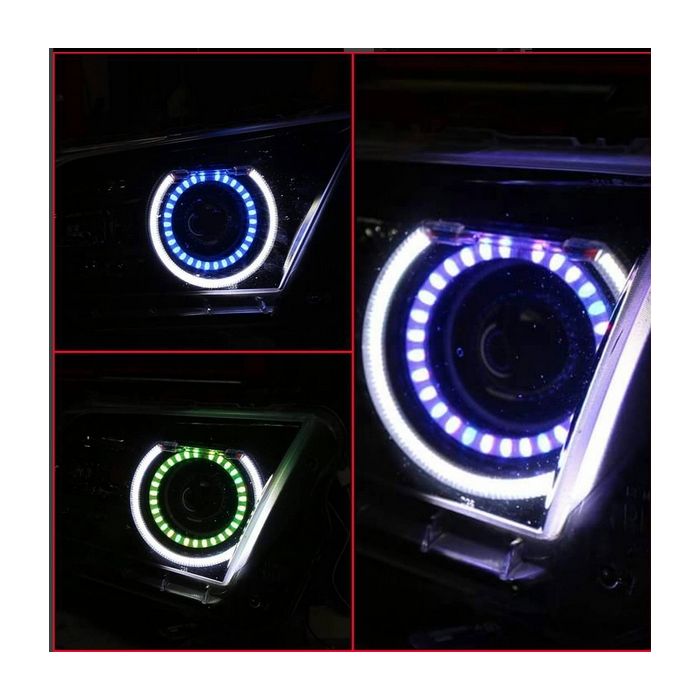
Ford Mustang Orion V2 LED Angel Eyes
Application (Please consult your owner's manual for your application fitment type):
Different applications will vary depending on:
Halogen
Xenon
Retrofit
Product Description (may describe some optional equipment) :
These halos can come in a variety of applications from horseshoe style single ring sets to double ring variety multi-color as shown in our feature photo. The headlights can also be options with standard red demon eyes or even a multi-color demon eyes set with Android or iPhone controller.
We recommend giving us a call to go over all the details if something isn't completely clear. The finished product is superior angel eyes to anything on the market from Advanced Automotive Concepts (AAC) otherwise known as "Oracle" lighting.
-
2 or 4 Halos - White or Multi-Color
-
1 full wiring harness
-
Lifetime Warranty
-
Online Instructions
-
All Hardware and Installation Included
Install Detail:
-
Requires cutting of the headlights. Please review our online www.youtube.com/umnitza channel that shows how to cut E60 Headlights.
-
3-7 hour complete using standard hand tools per side.
Benefits:
-
Updated Look
-
Allows you to clear or black out your turn signal at the same time
-
Can be wired as DRL (daytime running lights)
-
Significant improvement in visual appeal of car
Choose the Xenon Option Below to Upgrade Your Headlights
Install Tips:
-
PRETEST the bulbs, do not flex the bulbs in any way.
-
Mount the controller UNDER the headlights on a flat, dry and vibration free surface
-
Ensure secure connections to and from the headlight.
|
GENERAL INSTALL INSTRUCTIONS (May require additional steps) 1) Remove bolt from fender liner in the wheel well. 12) Remove inner beauty trim's 2 screws. BE CAREFUL TO NOT 13) Place rings at respect corners - 1 dap of glue - less than an teardrop worth at the corners of the rings and the bottom of the ring center. |