Toggle Nav

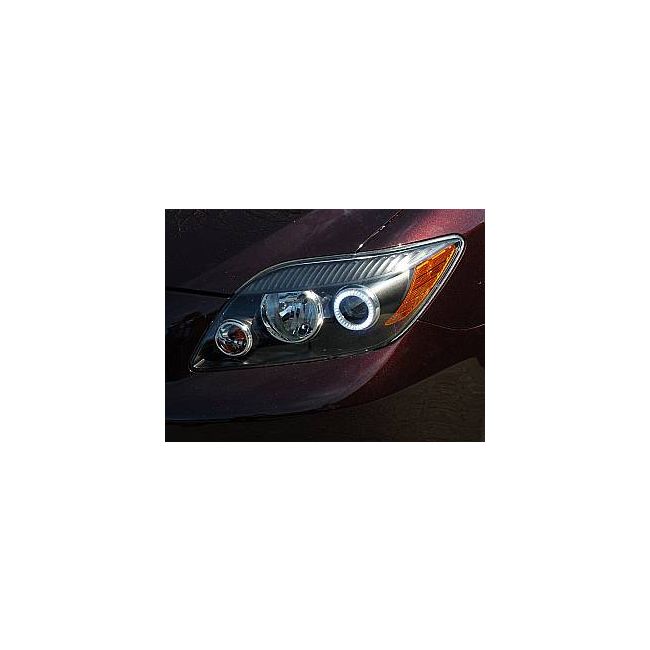


Predator Orion V2 Angel Eyes (Scion tC)
$120.99
Availability:
In stock
SKU
paescitov2
Predator Orion V2 Angel Eyes (Scion tC) is available to buy in increments of 1
Title:
SciontC Predator OrionTM V2 Angel Eyes
Application (Please consult your owner's manual for your application fitment type):
ALL Scion tC Cars 2008-2009 ONLY
Product Description (may describe some optional equipment) :
-
2 or 4 Halos
-
1 full wiring harness
-
Lifetime Warranty
-
Online Instructions
-
All Hardware and Installation Included
Engineering Detail:
-
Requires baking of the headlights (20 minutes @ 200 degrees on cookie sheet and bake)
-
30-50 minute complete install using standard hand tools per side.
-
36000mcd or 2X as bright as the nearest competitor.
-
Mounting clips
Benefits:
-
Updated Look
-
Allows you to clear or black out your turn signal at the same time
-
Can be wired as DRL (daytime running lights)
-
Significant improvement in visual appeal of car
Choose the Xenon Option Below to Upgrade Your Headlights
Install Tips:
-
PRETEST the bulbs, do not flex the bulbs in any way.
-
Mount the controller UNDER the headlights on a flat, dry and vibration free surface
-
Ensure secure connections to and from the headlight.
| 1) Remove bolt from fender liner in the wheel well. 12) Remove inner beauty trim's 2 screws. 13) Place rings at respect corners - 1 dap of glue - less than an teardrop worth at the corners of the rings and the bottom of the ring center. |
Write Your Own Review